
Improving your home can be a rewarding and fulfilling experience, whether you’re tackling small, cosmetic upgrades or larger, more involved renovations. Many homeowners opt for DIY projects to enhance their living spaces, adding both functionality and value to their homes. However, while the idea of upgrading your home may seem daunting at first, the right tools, a well-thought-out plan, and some basic know-how can help you achieve remarkable results without the need to hire professionals. In this article, we’ll explore how you can improve your home through the thoughtful use of tools and installation techniques.
1. Understand the Basics: Tools You Need for Home Improvement
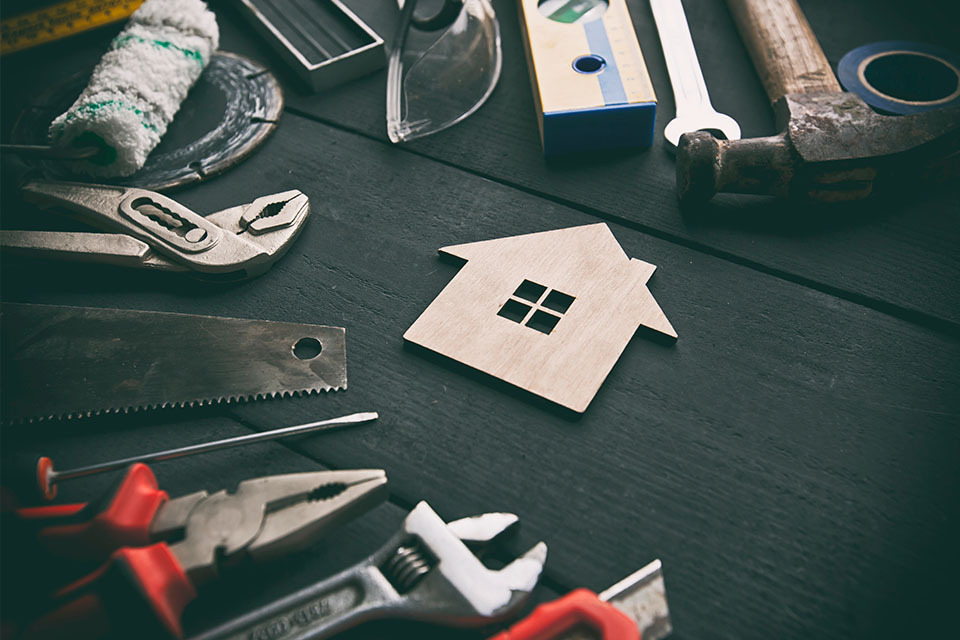
Before diving into any home improvement project, it’s essential to have a solid foundation in terms of tools. While you don’t need to invest in an extensive toolkit for every project, there are several essential tools that will serve you well for most home upgrades. Here’s a rundown of the basic tools every homeowner should have:
-
Measuring Tape: Accuracy is key when it comes to installing anything in your home, whether it’s a new shelf, light fixture, or piece of furniture. A quality measuring tape will ensure that your projects are perfectly aligned and correctly sized.
-
Power Drill: One of the most versatile tools in any toolbox, a power drill allows you to drill holes and drive screws. Whether you’re hanging pictures, assembling furniture, or installing shelves, a good drill will make the process significantly faster and easier.
-
Level: Ensuring that your installations are level, from shelves to appliances, is critical for both aesthetic and functional reasons. A level will ensure that your projects are not only visually appealing but also structurally sound.
-
Screwdrivers: A set of screwdrivers in various sizes will be indispensable for any number of tasks. For tougher jobs, a powered screwdriver can also make your life much easier.
-
Hammer and Nails: While often thought of as a simple tool, a hammer is vital for hanging pictures, installing baseboards, and tackling numerous minor fixes.
-
Utility Knife: Perfect for cutting drywall, trim, and other materials, a utility knife is a surprisingly versatile and indispensable tool for home improvement projects.
-
Safety Gear: Don’t underestimate the importance of safety gear. Protect yourself with goggles, gloves, and a dust mask to avoid accidents and discomfort while you work.
2. Planning Your Home Improvement Project
A successful home improvement project begins with careful planning. It’s important to have a clear idea of what you want to achieve and how you intend to go about it. Start by assessing the space or area you want to improve, determining your goals, and setting a realistic budget.
Take the time to consider your home’s current aesthetic and functionality. For example, if you’re installing a new kitchen backsplash, you’ll need to think about the design, materials, and color scheme that will complement the existing decor. For larger renovations, such as remodeling a bathroom or building a deck, you’ll need to carefully plan the steps involved, from demolition to installation.
You’ll also want to assess the level of difficulty of your chosen project. If it’s your first time attempting a particular installation, it may be wise to start with smaller, less complex tasks and work your way up to more intricate jobs. DIY projects are incredibly rewarding, but patience and a clear understanding of the work required will help you avoid unnecessary setbacks.
3. Installing Fixtures: A Step-by-Step Guide
Now that you’ve got the tools and a clear plan in mind, let’s dive into a common type of home improvement project: installing fixtures. Fixtures can include anything from light fixtures and ceiling fans to shelves, towel racks, and curtain rods. Below is a general guide for installing fixtures to help you get started.
Installing a Light Fixture:
-
Step 1: Turn off the power: Safety is the first priority. Before working with any electrical fixture, make sure the power is turned off at the breaker panel.
-
Step 2: Remove the old fixture: If you’re replacing an existing light fixture, remove the cover, bulbs, and screws securing it to the ceiling. You may need to disconnect the wiring from the old fixture.
-
Step 3: Install the mounting bracket: The new fixture may come with a mounting bracket or plate that attaches to the electrical box in the ceiling. Follow the manufacturer’s instructions to secure it in place.
-
Step 4: Connect the wiring: Carefully connect the wires from the fixture to the corresponding wires in the ceiling. If you’re unsure about wiring, consult a professional or use a wiring guide.
-
Step 5: Secure the fixture: Once the wiring is in place, attach the fixture to the mounting bracket. Ensure it’s tight and secure.
-
Step 6: Test the installation: Turn the power back on and test the new fixture. If everything works correctly, enjoy your new lighting!
Installing Shelves:
-
Step 1: Choose the right location: Decide where you want your shelves. Use a pencil to mark the positions of the shelf brackets on the wall.
-
Step 2: Measure and level: Use a measuring tape and level to ensure your shelf brackets are perfectly aligned.
-
Step 3: Drill pilot holes: For a secure installation, drill small pilot holes where the brackets will go. Use wall anchors if you’re mounting on drywall or hollow walls.
-
Step 4: Attach the brackets: Secure the brackets to the wall with screws. Double-check with a level to make sure they are straight.
-
Step 5: Install the shelf: Once the brackets are in place, carefully place the shelf on top, ensuring it’s properly aligned and stable.
-
Step 6: Load the shelf: Add your items to the shelf once you’re confident in its stability.
4. Tackling Larger Installations: Flooring and Kitchen Renovations
For larger home improvement projects, such as installing new flooring or upgrading your kitchen, tools and installation methods may differ. Let’s explore a few examples:
Installing Hardwood or Laminate Flooring:
-
Step 1: Prepare the surface: Start by clearing the area and ensuring the subfloor is clean, dry, and level.
-
Step 2: Plan your layout: Plan the layout of your flooring by measuring the space and determining where to begin laying the first row of planks.
-
Step 3: Lay the flooring: Using the appropriate adhesive or interlocking system, start laying your flooring from the edge of the room. Continue laying the planks row by row, making sure to stagger the seams for a more natural appearance.
-
Step 4: Install trim and baseboards: Once the floor is laid, trim any excess edges, then install baseboards to cover the expansion gaps and create a polished finish.
Installing Kitchen Cabinets:
-
Step 1: Mark the wall: Begin by measuring and marking the location of your cabinets. Use a level to ensure the marks are straight.
-
Step 2: Install upper cabinets: Secure the upper cabinets first, using a stud finder to locate the studs in the wall. Attach the cabinets to the wall with screws, ensuring they are level.
-
Step 3: Install lower cabinets: After the upper cabinets are securely in place, repeat the process for the lower cabinets, ensuring that everything lines up.
-
Step 4: Attach hardware and doors: Install cabinet doors, drawers, and hardware, then adjust them as necessary for a smooth fit.
5. Final Touches: Paint, Decor, and Small Installations
After the main installations are completed, it’s time for finishing touches. Painting the walls, adding decorative elements, and installing smaller fixtures like towel racks, coat hooks, and mirrors can transform the space. These simple upgrades not only enhance the look of your home but also increase its functionality.
Conclusion: The Joy of Home Improvement
Improving your home through tools and installations can be incredibly satisfying. Whether you’re installing a new light fixture, updating your kitchen, or adding storage with shelves, each project brings you closer to creating the ideal living space. With the right tools, some basic knowledge, and patience, you’ll find that many home improvements are well within your reach. Remember to start small if you’re new to DIY projects and gradually tackle more complex tasks as your confidence grows. The key is to approach each project with careful planning, attention to detail, and a willingness to learn along the way. Happy improving!